
What to Expect When Having Cabinets Professionally Painted
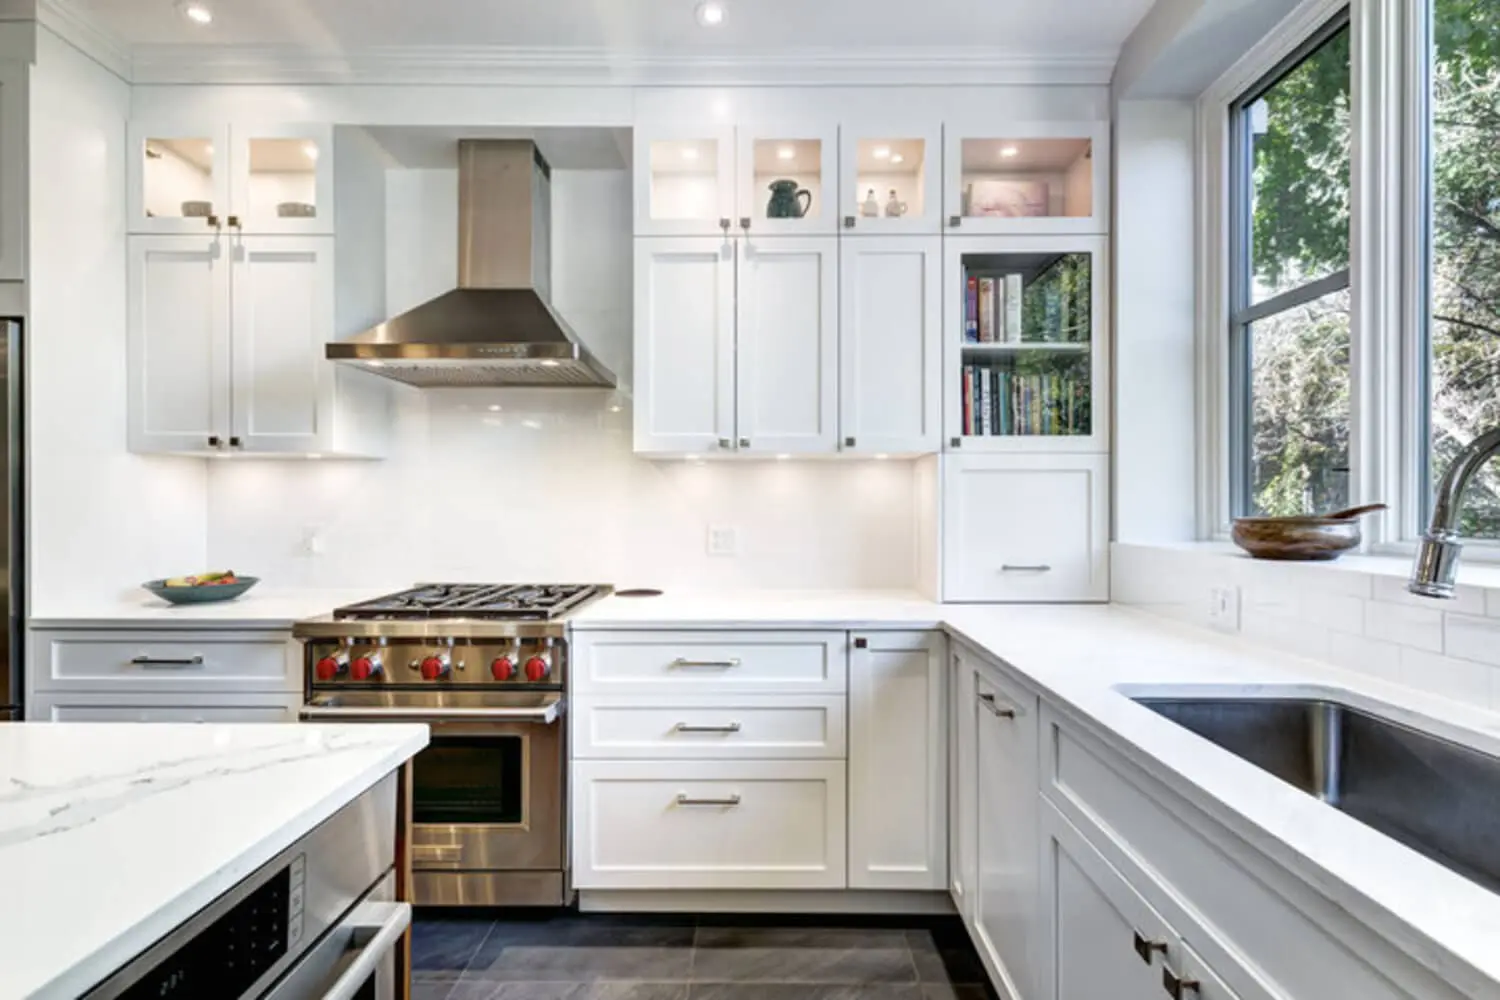
You’ve probably gotten at least one quote for cabinet painting, and now you’re picturing what actually happens if you say yes. Will your kitchen turn into a disaster zone for weeks? How about the smell taking over your house? Will the paint start chipping six months after the crew packs up?
Most homeowners assume cabinet painting works a lot like painting a room, just handled by someone else. In reality, a professional process involves far more disassembly, containment, and layered preparation than most people expect. The gap between a finish that lasts for years and one that fails within months lives almost entirely in steps you’ll never actually see happen. This guide covers what to expect when having cabinets professionally painted, from your first estimate to the day your kitchen goes back together, so you know exactly what you’re signing up for.
How Long It Takes and What to Expect When Cabinets Are Professionally Painted
Most professional cabinet painting projects take three to seven working days from start to finish. The exact number depends on your kitchen’s size, the condition of your existing cabinets, and how many coats your color change requires.
The process moves through a handful of distinct phases:
- Consultation and estimate
- Disassembly and protecting your kitchen
- Cleaning, sanding, and repairing surfaces
- Priming
- Painting
- Curing and reassembly
Each phase gets explained in detail below, so you’ll know exactly what happens during a professional cabinet painting project before it starts. For now, the important number to hold onto is the overall timeframe. Painting is dramatically faster than replacing cabinets outright, which usually takes four to eight weeks once you account for ordering, demolition, and installation. But it isn’t a one or two day job either, the way a quick touch-up might be.
Knowing the real timeline upfront changes how you experience the project. Homeowners who understand the phases in advance tend to plan around the disruption instead of feeling blindsided by how long their kitchen stays partially out of commission.
The Consultation and Estimate
The process starts with an in-home visit. A painter examines your cabinets in person, checking the wood type, the depth of the grain, and the condition of the existing finish before quoting a price.
This visit is also where you’ll talk through your goals. If you haven’t settled on a color yet, this breakdown of choosing a kitchen cabinet color covers what to weigh before you decide, since a lighter neutral, a deeper tone, or a two-tone finish can each affect the prep required and the number of coats needed.
A written estimate that actually protects you should spell out:
- Labor and material costs
- How many coats of primer and paint are included
- Whether doors get sprayed on-site or transported off-site
- The projected timeline
- What the workmanship warranty covers
Not every quote covers these details the same way, and that’s exactly why prices vary so much between contractors. If you’ve collected multiple quotes, you’ve probably wondered why the numbers are all over the place. This look at why cabinet painting quotes vary breaks down what separates a thorough bid from a rushed one. A contractor who can’t answer these questions clearly usually isn’t planning to work that thoroughly.
Disassembly, Labeling, and Protecting Your Kitchen
Before any cleaning or painting begins, the crew removes every cabinet door, drawer front, and piece of hardware. Each piece gets labeled so it returns to the exact spot it came from.
Painting doors while they’re still hanging in place might sound like it saves time, but it almost always leaves problems behind. A hairline edge of missed or bled paint tends to show up around the hinges. Getting an even coat on both sides of a door while it’s still attached is nearly impossible.
Once everything comes down, the kitchen itself gets protected. Countertops, floors, and appliances get covered with plastic sheeting or drop cloths, and the work area gets masked or tented off to contain dust, overspray, and odor.
What happens to the inside of your cabinets depends on their current finish:
- If the interiors already have a clean, light finish, they’re typically left alone and simply shielded from overspray
- If the interiors are stained or previously painted a solid color, they usually get emptied out and painted to match the new exterior finish
This stage determines whether you come home to a contained, organized job site or find dust tracked through the rest of your house. A crew that skips careful labeling and masking here tends to cut corners in the steps that follow too.
Why Preparation Determines How the Finish Holds Up
Preparation eats up more time than any other part of the project. It’s the single biggest factor in whether your new finish lasts for years or fails within months.
Years of cooking grease and everyday grime coat cabinet surfaces, even in kitchens that get cleaned regularly. Paint doesn’t bond well over that residue, no matter how good the product is. So every surface gets degreased and lightly sanded first. This creates a surface primer can actually grip.
Dents, dings, and old hardware holes get filled and sanded smooth during this stage too. Skip this step, and every imperfection telegraphs straight through the new paint, no matter how many coats go on top.
It’s tempting to think a thicker coat of paint can make up for weak prep work, but it can’t. Rushed sanding or skipped degreasing shows up later as peeling and adhesion failure. This kind of shortcut is one of several painting mistakes homeowners make that cost more to fix later, so it helps to know what the others look like before you hire anyone.
This is exactly where a background-checked, trained crew earns its keep. A crew held accountable to a written one-year workmanship warranty has a direct incentive to get the unglamorous prep work right, because a warranty claim traces straight back to whatever step got rushed.
Priming and Painting the Cabinets
Once prep work wraps up, a bonding primer made specifically for cabinetry gets applied. This primer creates the chemical bond between the existing wood and the new paint, and it blocks stains or tannins from bleeding through.
Cabinets take more daily abuse than almost any other painted surface in your home. Grease, steam, and constant handling wear on them nonstop. The primer and paint used here get built to withstand that punishment, unlike standard wall paint.
Painters apply the finish in multiple thin layers rather than one heavy coat, allowing proper drying time between each. Thin coats level more evenly and resist the drips and sagging that a single heavy coat tends to produce.
Some projects need three coats instead of two. This usually happens with dramatic color changes, like moving from dark wood tones to a bright white finish.
This is the stage where the transformation finally becomes visible. But the quality of that visible result depends entirely on the invisible prep work underneath it, which is really how professional cabinet painting works from start to finish.
What Daily Life Looks Like in Your Kitchen During the Project
For several days of the project, your kitchen won’t function normally. Cabinets and drawers stay inaccessible while doors are off and drying, and depending on the products used, you may notice a mild paint odor.
This disruption exists for a reason. The same containment measures that keep dust and odor out of the rest of your home also mean the work area stays off-limits during active painting and drying.
One variable worth asking about upfront: if doors and drawer fronts get painted off-site rather than sprayed in your home, the disruption tends to be lighter. Less odor and mess stay behind in your house either way.
A few small adjustments make the timeline easier to live with:
- Set up a temporary station in another room with a coffee maker, microwave, and paper products
- Plan a few easier meals or takeout for the most disruptive days
- Clear countertops near the cabinets ahead of time so painters have full access
Reassembly, Final Inspection, and Curing Care
Once the final coat dries enough to handle, the crew reinstalls doors and drawer fronts using the original labeling, then reattaches all the hardware. A walk-through with you follows, so you can inspect the finish before the crew leaves.
“Dry” and “cured” mean two different things, and mixing them up is a common source of early damage. Cabinets usually feel dry to the touch within a day, but they can take two to four weeks to reach full hardness.
During that curing window, a few precautions protect your investment:
- Avoid harsh cleaners or abrasive scrubbing
- Skip adhesive shelf liner directly on the new finish
- Close doors and drawers gently rather than letting them shut hard
Cabinets treated carefully through curing settle into a finish that resists everyday wear for years. Cabinets treated roughly too soon can show scuffs or chips before they’ve even finished hardening.
What Separates a Lasting Cabinet Finish From a Rushed Job
The entire process, from an honest in-person consultation through disassembly, thorough prep, careful priming, and precise reassembly, is what separates cabinets that look refreshed for a decade from cabinets that show wear within the first year.
The steps easiest for a rushed crew to shortcut, like degreasing, sanding, and filling imperfections, are also the steps you can’t see once the final coat goes on. That’s exactly why the process and accountability behind the work matter just as much as the color you pick.
We built our process around exactly this kind of accountability. Our background-checked, trained painters work under a written one-year workmanship warranty, so the thoroughness described above isn’t a promise, it’s something we stand behind after the job is done.
If you’re ready to see what this looks like in your own kitchen, reach out for a free cabinet painting estimate and we’ll walk you through the whole process before a single door comes off its hinges. Give us a call or send us a message and let’s talk about what your kitchen could look like.