
How Exterior Paint Prep Affects How Long Paint Lasts in Blaine, MN
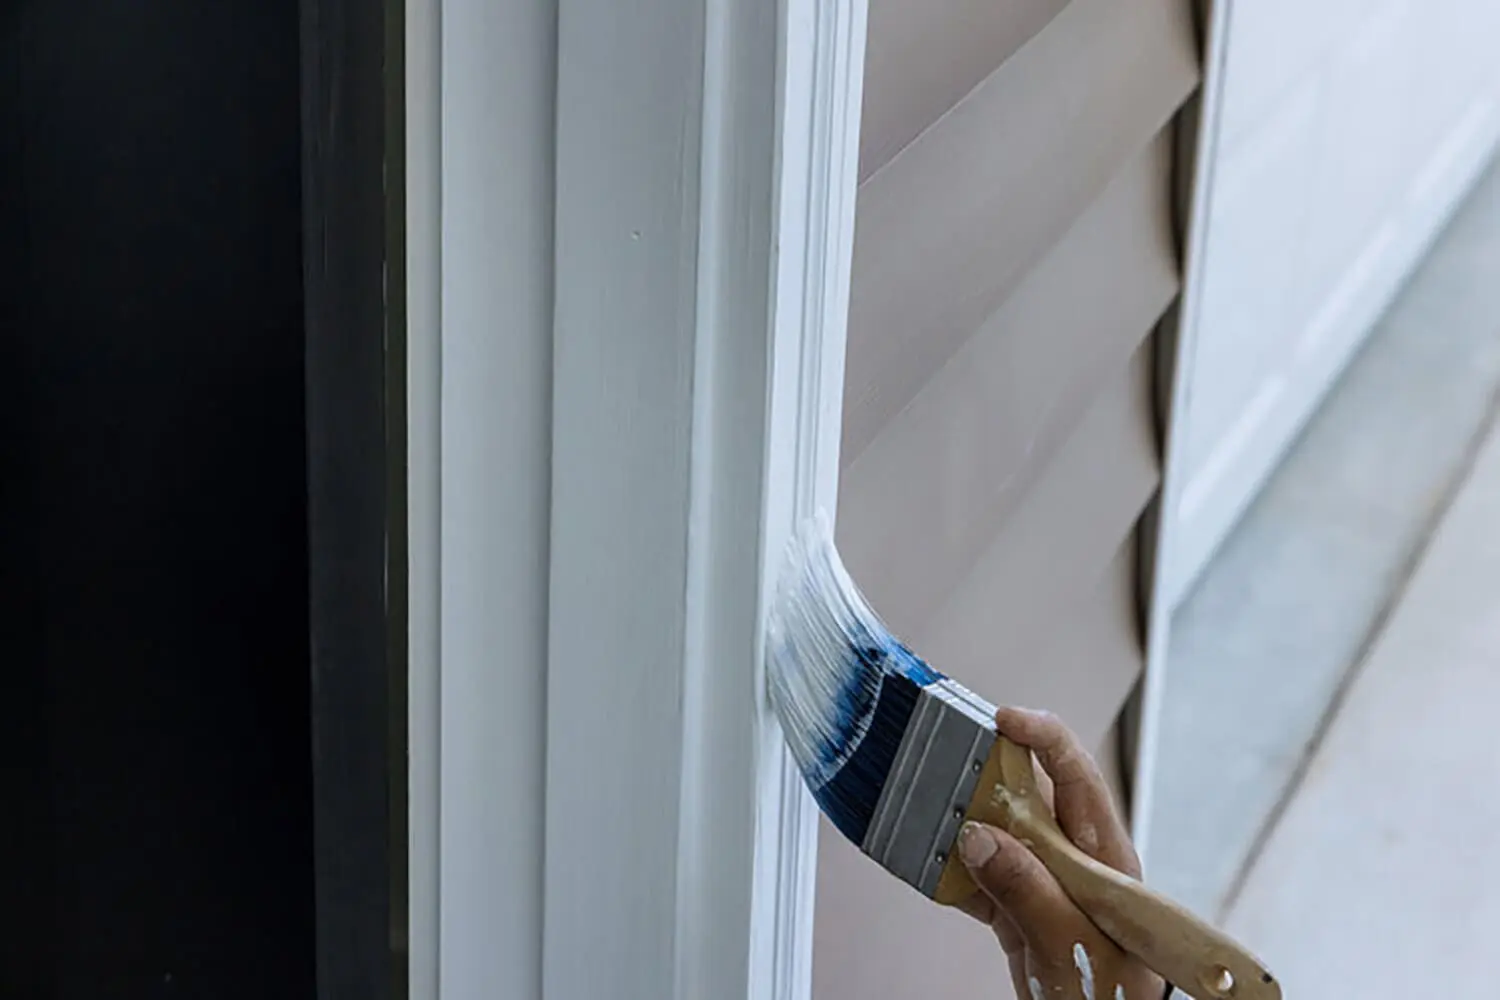
If you’ve gotten two or three quotes for an exterior paint job and noticed the prices are nowhere close to each other, you’ve probably wondered what explains the difference. Or maybe you’re looking at a paint job that started peeling or fading years before it should have, and you’re trying to figure out what went wrong. In both cases, the answer is almost always the same thing: preparation.
How exterior paint preparation affects how long paint lasts is not a minor variable. In Blaine’s climate, a properly prepped exterior paint job on wood or LP siding lasts 8 to 12 years. One done with shortcuts lasts 3 to 5. That gap has almost nothing to do with the paint brand on the can. It has everything to do with what happened to the surface before the first coat went on. This blog walks through each stage of proper exterior prep, what it does for the life of the paint job, and what the prep scope in a contractor’s proposal tells you about the result you should expect.
What Exterior Paint Actually Lasts in Minnesota’s Climate
Before getting into prep, it helps to know what a realistic lifespan looks like for a home in Blaine. Quality exterior paint on properly prepared wood or LP siding should last 8 to 12 years. Fiber cement holds up longer, typically 12 to 15 years, because it doesn’t absorb moisture or move with temperature changes the way wood does.
Those ranges assume Minnesota’s climate, which is one of the most demanding in the country for exterior coatings. Temperatures move from -20°F in winter to 90°F in summer, and that swing puts mechanical stress on any paint film that isn’t anchored to a clean, stable surface. When water gets into a gap in the coating, freezes, and expands, it pushes the paint off from the inside. That’s the freeze-thaw failure cycle that causes the peeling Blaine homeowners find every spring, and it starts at whatever weak point the prep left behind.
Blaine’s housing stock adds another layer to this. A large share of homes here were built in the 1980s and 1990s with wood and LP siding, which is now at or past the typical repaint window. Those surfaces have had decades of seasonal moisture cycling, accumulated paint layers, and natural wood movement. They’re more demanding to prepare than newer fiber cement homes, and the prep has to account for that history.
The 10 to 15 year averages printed on paint manufacturer labels assume temperate climates and proper preparation. In Blaine, neither can be taken for granted.
Why Prep Determines the Outcome Before a Brush Touches the House
Paint brand, number of coats, and color are all secondary variables. Prep is the primary one. Paint applied over a compromised surface will fail on that surface’s schedule, not the paint’s, and no amount of product quality changes that.
The reason comes down to how paint bonds to a surface. Exterior paint forms both a mechanical and a chemical bond with whatever it’s applied to. Anything that interrupts that bond creates a weak point:
- Chalk left on the surface from a degraded old coat
- Dirt or mildew that wasn’t fully removed
- Loose or peeling paint that wasn’t scraped off
- Open joints around windows or trim where moisture can enter
- Bare wood that wasn’t primed before the topcoat went on
Minnesota’s freeze-thaw cycle doesn’t create these failures. It finds them. The weakness was already there. The winter just makes it visible.
This is why two contractors can apply the same paint to the same house and get completely different results. It’s also why meaningful price differences between quotes often come down to prep time and scope. Thorough prep on a 1980s wood-sided home in Blaine takes considerably longer than a minimal wash-and-paint approach, and that time shows up in the price before it shows up in the outcome.
Surface Cleaning Removes What Blocks the Bond
The first stage of prep is cleaning the surface, and what gets removed matters more than most homeowners realize. Over the years between paint jobs, an exterior surface accumulates several things that will prevent new paint from bonding correctly:
- Dirt and pollen that sit on the surface and prevent paint from making contact with the substrate
- Mildew that has grown into the existing paint film
- Chalk, which is degraded paint resin that has broken down under UV exposure and sits on the surface as a fine powder
Chalk is the most important one to understand. A chalky surface looks like fading, but what’s actually happening is that the old resin has broken down into loose particles sitting between the old paint and any new coat. Painting over chalk means the new paint is bonding to those loose particles, not to the surface beneath them. Chalk doesn’t hold, and neither will a paint job applied on top of it.
Mildew has to be treated, not just rinsed. Painting over active mildew traps it beneath the film where it continues to grow and eventually pushes the coating off. A proper cleaning process includes a mildewcide treatment on affected areas before washing.
Pressure washing is the standard cleaning method, but pressure and technique matter. Too much pressure on older wood or LP siding can drive water into the substrate or raise the wood grain, which creates new adhesion problems. The goal is a clean, sound surface. If you’re weighing whether pressure washing alone is enough preparation before painting, that question is worth exploring before the project starts.
Scraping and Feathering Eliminates the Failure That’s Already There
Any paint that is already peeling, flaking, or lifting has to come off before new paint goes on. This is not negotiable. New paint applied over failing paint is only as stable as what it’s bonded to, and when the old paint releases, the new coat goes with it.
Scraping removes the loose material. Feathering is the step that follows, and it’s the one most often skipped by contractors who are moving too fast. After scraping, the edges where old paint ends and bare surface begins create a ridge. If that ridge isn’t sanded smooth, it telegraphs through the new coat as a visible line and creates a stress point where moisture can work its way under the film edge.
On Blaine’s older wood and LP siding homes, this stage is often the most time-consuming part of the entire prep process. There can be multiple generations of paint layered on the surface, and certain areas accumulate failure more than others:
- Near the foundation, where ground moisture and splash-back are constant
- Along the roofline, where ice dams and meltwater run down the wall
- Around windows and doors, where joint movement and moisture intrusion are highest
If you’re already seeing signs of paint failure on your home’s exterior before a repaint, understanding what those signs mean and where they tend to show up first is worth knowing before you start getting estimates.
Skipping scraping and feathering doesn’t save money. It transfers the cost of that shortcut directly to the paint job’s lifespan.
Caulking Closes the Gaps Freeze-Thaw Cycles Exploit
Caulk seals the joints where different materials meet: around window frames, door casings, trim boards, and anywhere siding connects to another surface. These joints move with temperature changes, expanding in heat and contracting in cold, and that movement opens gaps over time.
In Minnesota, those gaps are the primary entry point for moisture. Once water gets into a joint, the freeze-thaw cycle takes over. Water freezes, expands by roughly nine percent in volume, and pushes outward against the paint film from behind. The result is peeling on walls that were otherwise painted correctly on the surface. The paint didn’t fail. The caulk did.
Old or missing caulk is one of the most common findings on Blaine homes from the 1980s and 1990s. The original caulk has aged past its flexibility and is typically in one of these conditions:
- Cracked along its length from years of temperature cycling
- Pulled away from one or both sides of the joint it was sealing
- Missing entirely in sections, particularly around older window frames
Re-caulking before painting is not a cosmetic step. It is moisture management, and in this climate it is one of the highest-leverage prep steps for longevity. It also has to happen at the right time. New caulk needs to fully cure before paint goes over it, which connects directly to the next variable: application conditions.
Priming Seals the Surface Paint Alone Cannot Protect
Primer is not diluted paint. It is a bonding layer engineered specifically for adhesion, formulated to penetrate the surface, seal porous or bare areas, and create a chemically compatible foundation for the topcoat. Paint applied without it on the right surfaces will not bond the same way, and it will show.
Bare wood is the most critical situation. When scraping removes old paint and exposes raw wood beneath, that wood absorbs and releases moisture with every seasonal change. Without primer, the topcoat is applied to a surface that is actively moving. It will crack and peel at those spots regardless of how good the paint is.
Other situations that require priming before topcoat include:
- Filled nail holes and patched areas, which are porous and absorb paint unevenly
- Repaired sections of LP siding, where the repair material needs to be sealed before paint
- Any area where the previous coat has been sanded down to a smooth, non-porous surface that the topcoat needs help bonding to
A common shortcut is applying a thick coat of paint directly to bare spots instead of primer. It looks acceptable initially. It fails faster because paint is not formulated to do what primer does at the substrate level.
On a home with extensive bare wood or significant paint removal, the question of spot priming versus full priming is worth raising directly with the contractor. A recommendation to fully prime the entire house is a sign of thoroughness on the right home, not an upsell.
Application Conditions Determine Whether the Prep Work Holds
Every stage of prep can be done correctly and still underperform if paint goes on in the wrong conditions. This is the variable homeowners rarely think about, but it’s one that professionals manage carefully on every job.
Temperature is the most familiar constraint. Most exterior paints require surface temperatures between 50°F and 90°F for proper film formation and curing. In Minnesota, that narrows the realistic application window, and even within it, surface temperatures after a cold night can stay too low well into mid-morning on certain sides of the house.
Moisture is the other major factor. Painting over a surface that is still damp from rain or morning dew traps moisture beneath the film. As that moisture works its way out, it causes bubbling and adhesion failure. Prep work that was done correctly gets compromised at the final stage.
Direct sun and heat create a different problem. Paint applied to a surface baking in direct afternoon sun can skin over before the film fully forms, leaving the interior of the coat undercured and reducing long-term adhesion.
Contractors who manage these conditions sequence their work thoughtfully:
- Painting shaded sides of the house while sun-facing sides cool down in the afternoon
- Starting later on cold mornings to let surface temperatures rise
- Rescheduling after rain rather than pushing through to meet a deadline
Understanding how timing affects the outcome is closely tied to understanding when the right window for exterior painting opens up in Minnesota each year. A contractor who accounts for conditions is protecting the integrity of every prep stage that came before the first coat.
What Prep Scope Reveals About a Contractor’s Approach
When comparing quotes for an exterior paint job on a Blaine home, the prep scope described in the proposal is the most reliable indicator of what the finished result will actually deliver. Price alone doesn’t tell you much. What the contractor plans to do before painting does.
Thorough prep scope in a proposal typically includes:
- Power washing specified, with mention of mildewcide treatment where needed
- Scraping and feathering of all failed paint called out explicitly
- Caulking of joints around windows, doors, and trim included in the scope
- Priming of bare wood and repaired areas specified
- Application conditions acknowledged or a painting window defined
Minimal prep scope typically looks like this: wash and paint, with no mention of scraping, caulking, or priming. That approach costs less upfront. It transfers the difference to the paint job’s lifespan.
The price gap between a thorough and a minimal prep approach on an older Blaine home can be significant. But the cost-per-year math usually favors the thorough approach. A job that lasts 10 years at a higher price costs less annually than one that begins failing in four. A homeowner who understands what prep involves is in a much better position to evaluate proposals, ask the right questions, and recognize the difference between a price that reflects real work and one that reflects corners being cut.
Prep Is the Investment That Makes the Paint Job Worth It
How exterior paint preparation affects how long paint lasts comes down to this: the lifespan of a paint job in Blaine is determined less by which paint goes on and more by what happens to the surface before it does. Cleaning removes what blocks the bond. Scraping and feathering eliminate the failure that’s already there. Caulking closes the gaps that Minnesota winters exploit. Priming seals what paint alone cannot protect. And applying paint in the right conditions ensures that all of that prep work actually holds.
For a home built in the 1980s or 1990s with wood or LP siding, the surfaces have had decades of seasonal stress. A quick wash and roll won’t give the next paint job a full lifespan. The prep has to match what the surfaces actually need.
If you’re planning an exterior repaint and want to understand exactly what a thorough prep process looks like for your home, request a free estimate. A professional assessment will walk you through what your specific surfaces need, what the prep scope will involve, and what a properly prepared exterior paint job in Minnesota’s climate should deliver.